UIBezierPath这个类在UIKit中, 是Core Graphics框架关于path的一个封装,使用此类可以定义简单的形状,比如我们常用到,矩形,圆形,椭圆,弧,或者不规则的多边形
贝塞尔曲线可以做到哪些?
1.画图形
2.做动画
贝塞尔曲线是怎么画出来的?
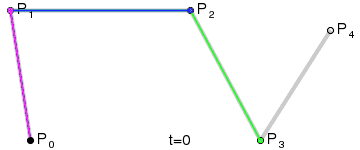
首先,我们在平面内选3个不同线的点并且依次用线段连接。如下所示..

接着,我们在AB和BC线段上找出点D和点E,使得AD/AB = BE/BC。
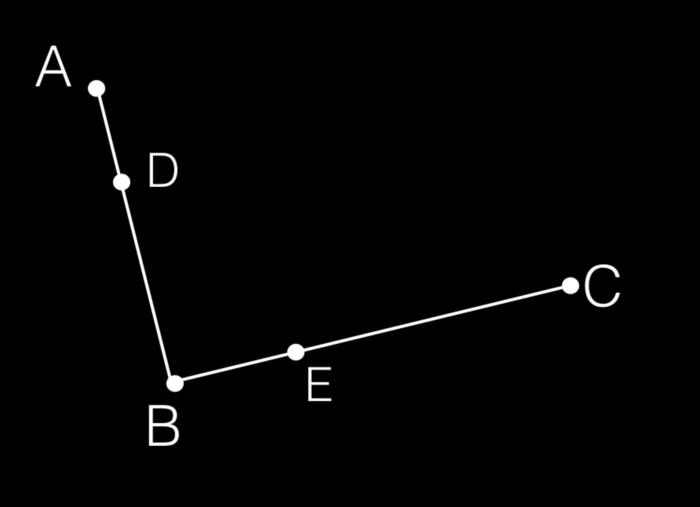
再接着,连接DE,并在DE上找出一点F,使得DF/DE = AD/AB = BE/BC。
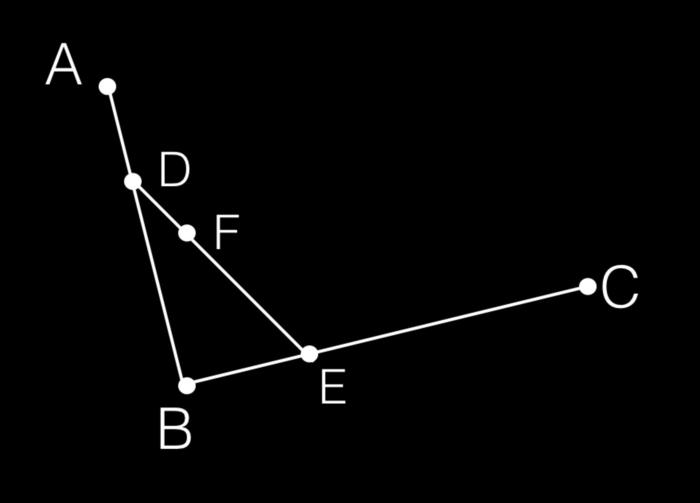
然后,根据我们高中所学的极限的知识,让选取的点D在第一条线段上从起点A,移动到终点B,找出所有点F,并将它们连起来。最后你会发现,你得到了一条非常光滑的曲线,这条就是传说中的,贝塞尔曲线。
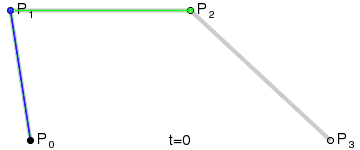
这是二阶贝塞尔曲线。
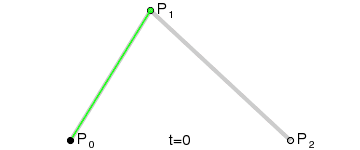
下面是三阶四阶和五阶。
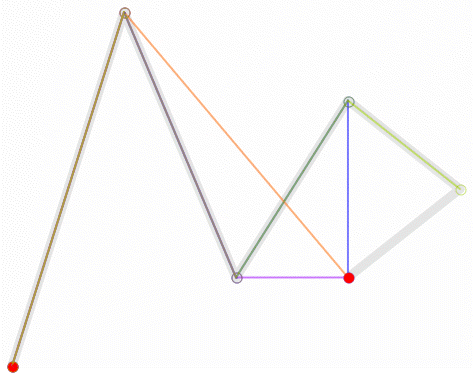
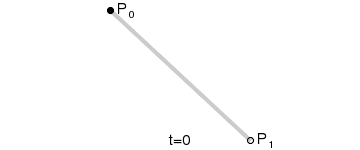
最后看一下一阶
所以贝塞尔曲线的厉害之处就在这里,从1-n阶的连续函数,他都可以计算得到一条光滑曲线。
提供一个比较牛x的在线查看贝塞尔曲线网址
Animated Bézier Curves
https://www.jasondavies.com/animated-bezier/
常用设置介绍说明
1、[color set];设置线条颜色,也就是相当于画笔颜色
2、path.lineWidth = 5.0;这个很好理解了,就是划线的宽度
3、path.lineCapStyle这个线段起点是终点的样式,这个样式有三种:
- 1、kCGLineCapButt该属性值指定不绘制端点, 线条结尾处直接结束。这是默认值。
- 2、kCGLineCapRound 该属性值指定绘制圆形端点, 线条结尾处绘制一个直径为线条宽度的半圆。
- 3、kCGLineCapSquare 该属性值指定绘制方形端点。 线条结尾处绘制半个边长为线条宽度的正方形。需要说明的是,这种形状的端点与“butt”形状的端点十分相似,只是采用这种形式的端点的线条略长一点而已
4、path.lineJoinStyle这个属性是用来设置两条线连结点的样式,同样它也有三种样式供我们选择
- 1、kCGLineJoinMiter 斜接
- 2、kCGLineJoinRound 圆滑衔接
- 3、kCGLineJoinBevel 斜角连接
5、[path stroke];用 stroke 得到的是不被填充的 view ,[path fill]; 用 fill 得到的内部被填充的 view,这点在下面的代码还有绘制得到的图片中有,可以体会一下这两者的不同。
画图形
画线
1 | // 画线 |
五边形
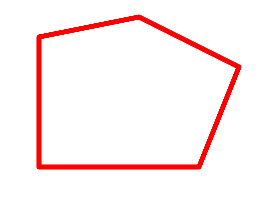
1 | // 五边形 |
正方形或者矩形
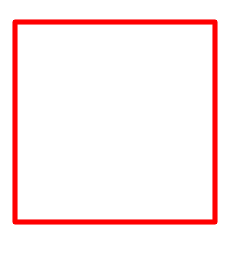
1 | // 正方形或者矩形 |
椭圆或者圆
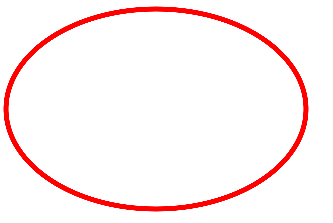
1 | // 椭圆或者圆 |
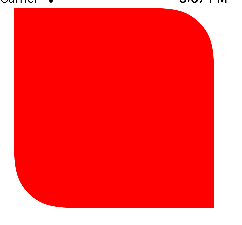
矩形四角圆角
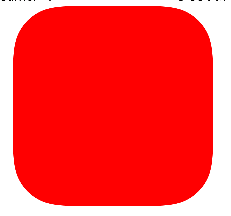
1 | // 矩形四角圆角 |
四个角里右上和左下圆角
1 | // 四个角里右上和左下圆角 |
顺时针或者逆时针画线
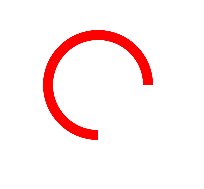
1 | // 顺时针或者逆时针画线 |
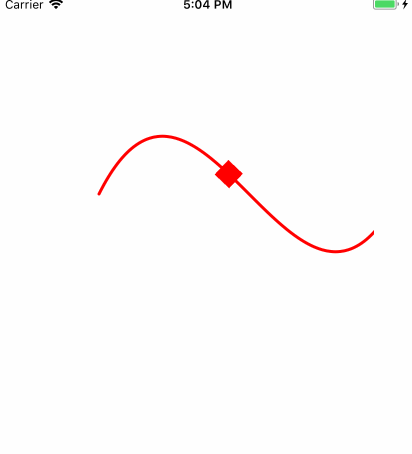
绘制二次贝塞尔曲线
1 | // 绘制二次贝塞尔曲线 |
绘制三次贝塞尔曲线
1 | //绘制三次贝塞尔曲线 |
BezierPath动画
1 |
|
了解一下底层的CoreGraphics
简单易懂的介绍博客
http://www.mamicode.com/info-detail-841887.html
下面介绍了怎样给BezierPath赋值CGPath,我看有点用,直接把代码拿来了。
1 |
|
通过shapeLayer画线
这样就不用去UIView的drawRect方法里面画图了,用法“给CAShapeLayer赋值 CGPath”。
1 | //ShapeLayer |
下面是我调试时的demo:https://github.com/iOdeFog/BezierPathDemo
参考:
http://cdn2.jianshu.io/p/c883fbf52681
http://www.jianshu.com/p/5dbdd1ee47aa